Wednesday, April 24, 2013

Bucket list

I have a bucket list for 2013.   Most are items I want to make from scratch!   I've taken a step back from my crochet/sewing business, so that I have more time with my kids, and more time to try new things, and create (without pressure).  

I'm so excited about it!   So many things I've been meaning to do for years, and never getting to.  This freedom also allows us to do more whole foods as a family, as we have time to make things from scratch.

Here is just a few of the things I'd like to make (or make on a more regular basis):

-butter (done before, but want to do more often)

-buns and bread (just want to make more often)

-mozzarella cheese (made this last week… post to come)

-ricotta cheese

-tortillas

-beans (instead of using canned)

-can pickles

-jam

-can peaches

-salsa

-mayo

-peanut butter

-cottage cheese

-cheese curds

-fresh pasta


…..  that is just some of my list….   but keep an eye on this blog, as I'll be updating it as I do things.  Hopefully I can tackle most of it before baby arrives!

 I'll hopefully have my butter post up tomorrow….   since I made it on Saturday again, and took pictures!   I just wanted to do a cost comparison, before getting it posted.

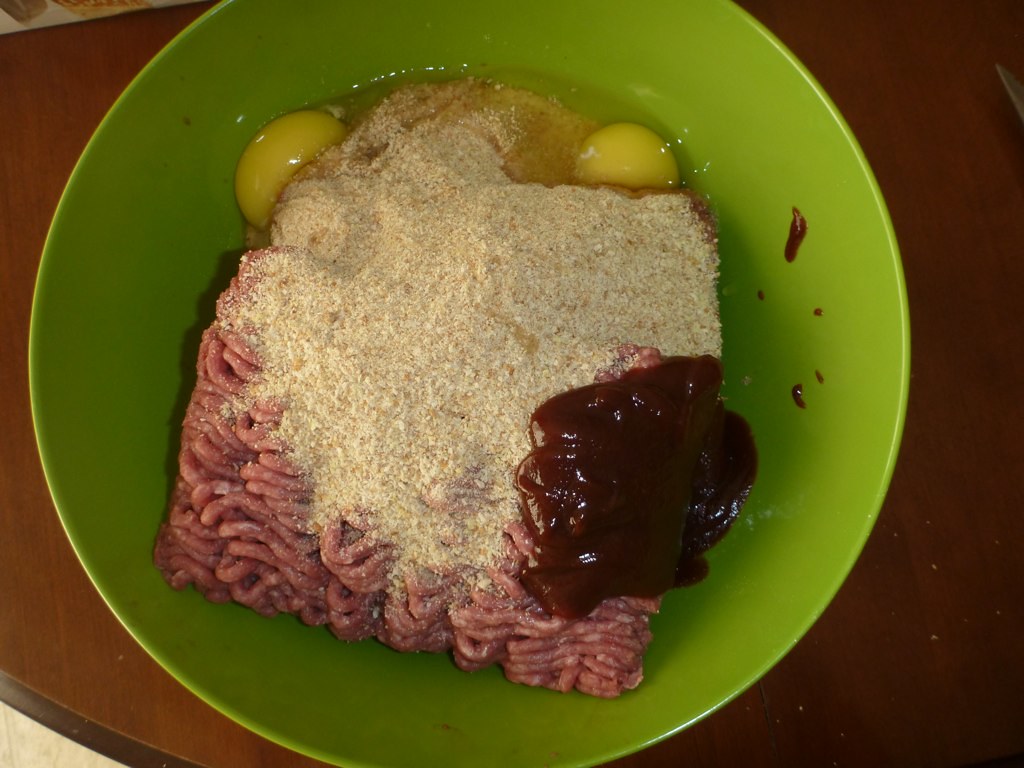
As far as other cooking/baking I plan to do.    I've been challenged to do a week of muffin tins…..   breakfast, lunch and dinner all prepped in muffin tins.    I'm going to spend a few weeks prepping and brainstorming for this exercise, but I think it will be fun!  :)   Ideas so far are individual lasagnas, mini meat loaves… etc.


Wednesday, January 2, 2013

January 2013

I can't believe how busy the last half of 2012 was.   I feel like I can finally breathe again!

I finished up my January meal plan a couple of days ago.... and got my groceries this morning (just a milk/produce pick up mid-month).

Can you believe it's 2013???    Crazy!!

This month we don't have much going on in the evenings, so I had a lot of freedom in my planning.   We do have a vegetarian house guest the last week of the month though, so I did factor that in when planning, as well as travel (eat out) days.  I also want to use some of that meat had has moved towards the bottom of the freezer.   I try to do that every 6 months or so, so nothing gets too old in there (saves on the grocery bill for a month too).  Due to changes in our Christmas plans, I didn't end up cooking Christmas day, so we are now having a turkey dinner this month (I cannot wait!)


January Meal Plan:

1- Baked Salmon, Rice, Broccoli

2- Cabbage Rolls, Spaetzle, Sausage, Salad (husband is cooking)

3 - Beef Stew*, Buns

4 - Shepherd's Pie*, Salad

5 - Beef & Broccoli**, Rice


6 - Belgian Waffles, Fruit

7 - Steak, Roasted Potatoes and Carrots*, Salad

8 - Pork Chops, Broccoli and Rice Casserole*, Salad

9 - Chicken Stir Fry, Rice

10 - Spinach Lasagna Rolls, Salad

11 - Homemade Pizza*, Raw Veggies

12 - Turkey Sausages, Eggs, Homemade Hashbrowns, Toast

13 - Roast Beef, Yorkshire Puddings*, Roasted Carrots and Potatoes, Mashed Potatoes, Gravy, Corn

14 - Cheese Ravioli, Raw Veggies

15 - Beef on a Bun, Raw Veggies, Asian Coleslaw**


16 - Baked Butter Chicken, RIce, Stir Fry Veggies

17 - Balsamic Pork Loin*, Mashed Potatoes, Broccoli

18 - Burgers, Fries, Raw Veggies

19 - Fish, Dill Sauce*, Rice, Asparagus or Broccoli

20 - Turkey, Mashed Potatoes, Carrots, Corn, Broccoli Divine*, Yorkshire Puddings, Gravy, Cranberry Sauce

21 - Leftovers

22 - Turkey and Rice Casserole*, Salad

23 - Beef Stew, Buns, Salad

24 - Leftovers

25 - ~Dinner out~

26 - Tuna Pasta, Peas

27 - Stirfry, Rice

28 - Homemade Pizza, Raw Veggies

29 - Supreme Green Spaghetti, Salad

30 - Homemade Soup*, Buns, Raw Veggies

31 - ~Take Out~


*Recipe to share

**Trying new recipe... will share

Tuesday, August 7, 2012

Burgers

I've come a long way in the last couple years. I used to not be able to touch raw meat....blech.. disgusting. I used to cook all meat from frozen.

But now, I can do it without too much yuckiness (exception is cuts of meat that are fatty, or tendons... I still don't usually cook meat with bones (or skin)). Progress!

Another fact... I rarely buy meat at full price. I prefer to do my grocery shopping first thing in the morning, right after all the mark downs go out! I pretty much always find the meats I need marked down, and I stock up if I see them when I'm not doing my regular grocery shop. 30% off stickers are my best friend (and 50% off stickers in the bakery section).

The other day I scored six 500g packages of extra lean ground sirloin marked down. I didn't even clear them out.... i just stuck with the 6 and left. What does that scream to you? BURGERS! I love to make a big batch of burgers for the freezer and pull them out as we use them.

P1040659

This is the first summer I've ever made burgers.... ever! But they're delicious, easy, and a great freezer stocker for bbq nights. Gone are the days of pre-packaged frozen burgers that I always used to buy.

Here is my step by step.... I don't know any real recipes.. I read that you can make burgers with just beef, nothing else mixed in.. but we like a few extras.

First step... cut pieces of wax paper (or parchment paper) larger than you plan to make your burgers (these will help you separate the burgers when you take them out of the freezer later)

P1040664

Next step... put toddler in high chair with some food that is fun to play with and will entertain them (spaghetti today). You just know you'll have to deal with them when your hands are covered in raw meat.... better to put them in a contained place with something to do.

P1040666

Here's my recipe:

Beef Burgers

1500g lean ground beef
1 cup bread crumb
2 eggs
1/2 cup bbq sauce
seasonings of choice (I used Mrs Dash today.. but have used taco seasoning, italian seasoning, even curry).

Put it all in the bowl and mix together (spoon works.. but you'll get a more even mixing if you use your hands (you're going to have to get them in there to form burgers anyway.. so you might as well).

P1040661

Once it's all mixed evenly, form patties to whatever size you like and place on a square of paper on a plate. Place another square on top and stack another burger... keep going (start a new stack when it starts getting high). Your kids might want to help... I let her put the papers inbetween layers for me... and she also took my photos for me!

*my husband just reminded me (yet again) that you're supposed to put a thumb indent in the middle of each burger for more even cooking. I forgot.. again. Maybe you can remember ;)*

P1040673

P1040674

I like to make slider size ones too (since the kids like these size burgers):
P1040678

P1040679

Wash up, transfer the burgers to freezer bags (or containers). When it's time.. just take out however many you need, and grill them up!

This recipe made 14 large burgers, and 12 sliders for me. I made 2 batches of this size, so I am stocked with burgers for a while now!

This recipe is very flexible.. throw in what ever you want! Onions, sauces, herbs, whatever you feel like adding! :)


This is just one of the recipes I do when I stock up on discounted ground beef. I actually use this same recipe for turkey burgers as well. When you buy discounted meat, you have to deal with it (prep to freeze, or cook with it) within a day or two, so always good to keep a few things on hand for mixing with them. I might have to post some of the other recipes I do when I get meats on sale. :)


Saturday, July 21, 2012

Zucchini Fries

Tonight we paired some zucchini fries with our turkey burgers.

DSC_8214

Zucchini Fries

2 medium zucchini
2 eggs
1 cup seasoned breadcrumbs (or you can crush up croutons)

Preaheat oven to 425F

Slice zucchini into sticks. Beat eggs in a medium sized bowl. Put breadcrumbs in a shallow dish. Take each piece of zucchini, dip in egg, roll in bread crumbs and place on an ungreased cookie sheet in a single layer.

Bake for 13-15 minutes until cooked.. rotating the cookie sheet halfway through the time to ensure even cooking.

Serve with a dill dip.

_________________________

These were a hit! EVERYONE devoured them (baby to adults). A great side dish for anything grilled. The dill dip really compliment the flavour of these.

Friday, July 20, 2012

Cherry Berry Ice Cream

It's been hot here, so I haven't been using the oven much, but have been making tasty COLD treats more often.

This is kinda a creation we made, since we had strawberries and cherries that needed to be used ASAP and I didn't want to bake or make jam.

You'll need a good blender for this recipe.. one that will completely blend up ice.

P1040389

Cherry Berry Ice Cream

3 cups cherries and strawberries - frozen
1 cup cherry yogurt (I used Silhouette 0% M.F.)
1 cup heavy cream
2-3 cups ice
1 cup chopped cherries (for mixing after)

Cut and pit the cherries and strawberries the evening before, and leave them in a bowl in the freezer overnight.

Place frozen berries/cherries in the blender (Vitamix). Add yogurt and heavy cream, and blend til smooth. Start adding ice (and tamping), until mixture gets very thick and is not moving much (2.5 cups of ice for me).

Scrape into a container for storing in the freezer, fold in the 1 cup chopped cherries. You can serve now (as it'll be soft serve consistency), or if you let it set for a couple hours in the freezer, it will harden up a bit more.

*if you have a strong sweet tooth, add about 1/2 cup of sugar in the first mixing in the blender. It's naturally sweet from the fruit, and then the sugar substitutes in the yogurt, but it's not a strong sweet like ice cream normally is. I liked it at this sweetness.

Enjoy!

P1040392

Tuesday, July 17, 2012

Corn on the Cob Trick

I've always microwaved my corn on the cob. Leave a single layer of husk on (after pulling as many silk out as possible).

But this tip I picked up from Pinterest is SOOO MUCH EASIER!!!


All you have to do, it pop the corn (husks, silk, everything) straight in the microwave (4 minutes/ear... so we do 3 ears = 12 minutes).

When it's done.. take your oven glove, grab one.. slice off the bottom/stem to where you can see the corn starting. With your gloved hand, grab the top of the corn, and squeeze... the corn cob slides out easily with no husks and no silks, ready to eat!! No fighting with the stringy silks, perfect corn every time.

We've tried it twice this year, and it works like a charm. I cannot wait for Taber corn to be ready... deliciousness!

Wednesday, July 11, 2012

Almond Milk Chocolate Banana Ice Cream

This may have been an experiment, but it was pretty tasty!!

We were a little eager to have dessert, so we didn't let it set up the full time in the freezer (plus it was hot out), so please excuse the photo.

DSC_7739

Almond Milk Chocolate Banana Ice Cream

1.5 cups of Almond Milk
2 ripe bananas
2-3 Tbsp of cocoa
2 Tbsp of sugar (this probably could be omitted, it was plenty sweet from the bananas and almond milk)

Heat up the almond milk with cocoa and sugar to get it all mixed together nicely (either microwave or stovetop). Don't make it hot, but just warm enough for the ingredients to blend nicely. Once it's mixed evenly, pour into a blender with the bananas, and blend til smooth.

Pour into your ice cream maker and run it for about 20 minutes. Pour in freezer safe bowl to set up for about an hour (or if you're like us, you'll pull it out after about 20 minutes, cause you just can't wait).

*in thinking now... if you cooled the whole thing after blending, in the fridge... it might set up enough to be ready to eat right from the ice cream maker.

______________________

This is super tasty. I will probably omit the sugar next time, but best way to test is to take a little spoonful taste test before pouring it in the ice cream maker.

You can tell from the picture it is quite soft, but if you leave it the full hour in the freezer, it should set up nicely.

I might also experiment with different flavours.. I love the nutty taste of the almond milk, plus it gives more dairy-free options.

I see a host of experiments coming from this one.... using both the ice cream maker (mine is an attachment for my KitchenAid Mixer), and using the Vitamix.

If you experiment with this recipe, let me know!! :) We started with chocolate.. since we're chocolate fiends... but I think I may give strawberry a go very soon!