We received a GIANT cabbage the other day…. like bigger than a LARGE watermelon. So we've been having plenty of coleslaw, and my mom suggested this easy casserole. Super delicious, and easy… cabbage rolls without all the work! The kids loved it too (and I remember them not liking regular cabbage rolls).
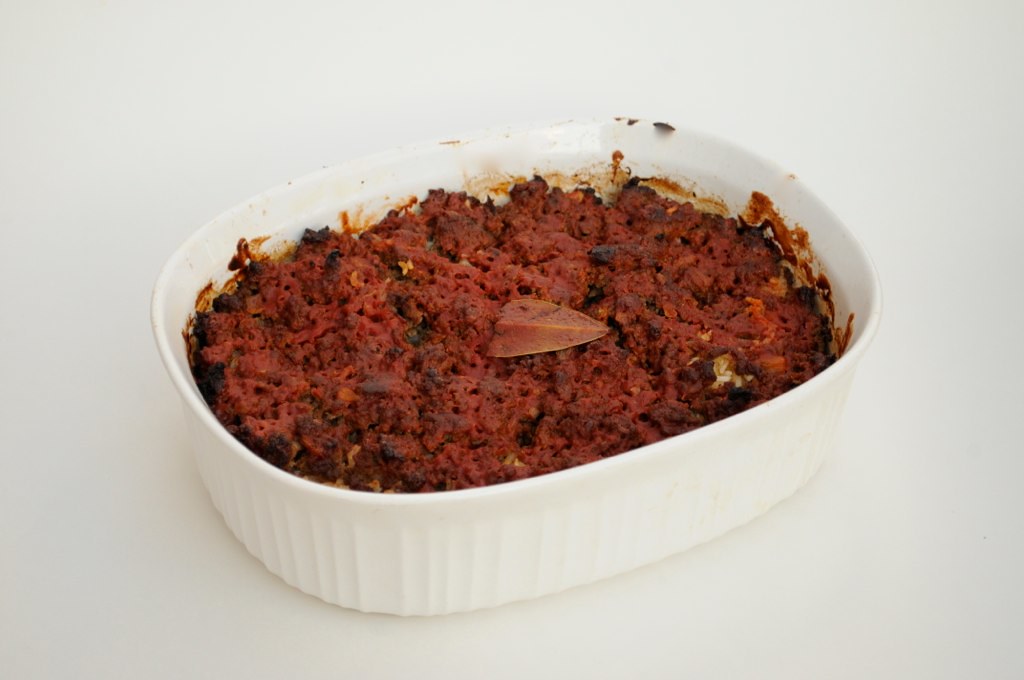
Now if only there was a way to photograph a casserole nicely…. sigh.. don't judge it by looks!
Cabbage Rice Casserole
1/2 head of cabbage, shredded (small head or 1/4 large)
3/4 cups long-cooking rice, uncooked
1.5 cups boiling water
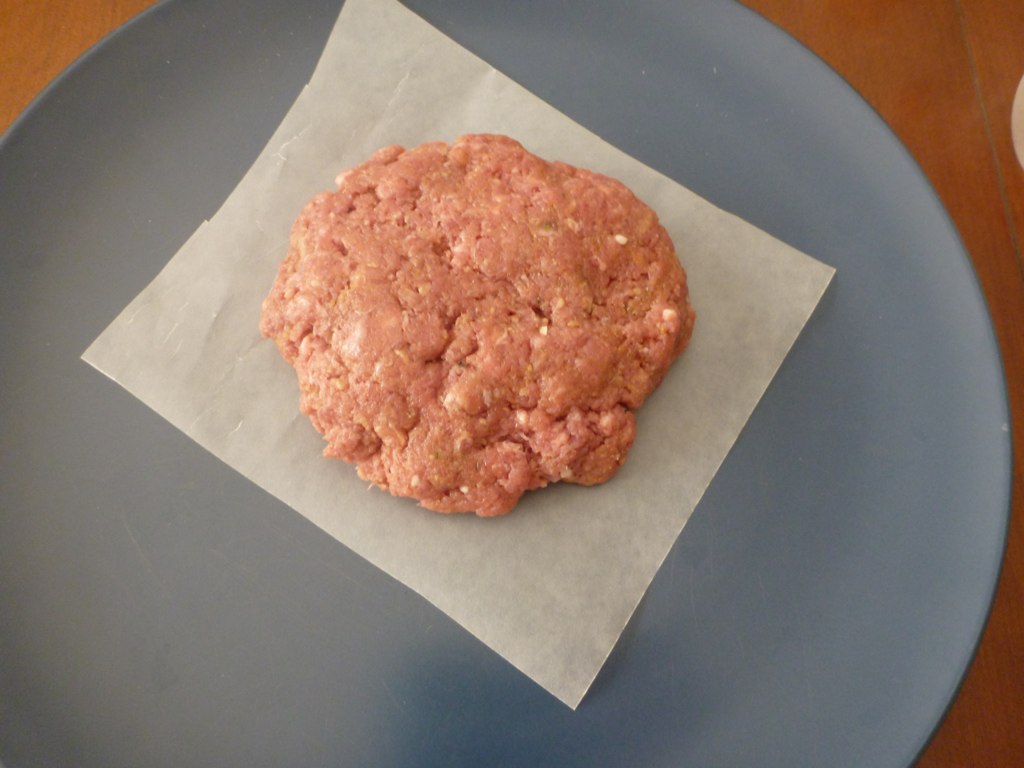
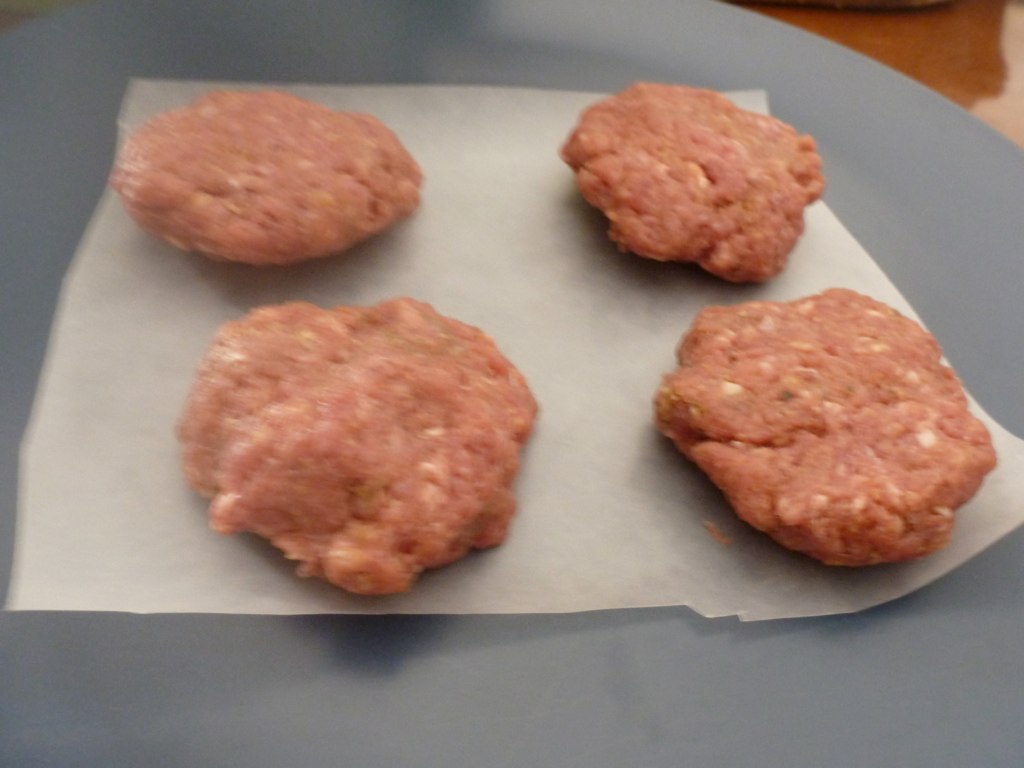
1 lb of ground beef
1/2 onion, chopped finely
Bay Leaf
Sauce:
1 can tomato soup
1/4 cup vinegar
1 tsp sugar
1/4 cup ketchup
*mom says you can use sweet pickle juice instead of vinegar and sugar
Preheat oven to 375 F
Brown beef with onion.
Place cabbage in bottom of a greased 13x9 dish. Spread rice on top. Pour 1.5 cups boiling water over rice. Spoon beef over top. Pour sauce evenly over beef, and poke down to bottom with utensil to make sure sauce doesn't overflow, and to get the flavour into the cabbage layer. Place bay leaf in the top of each dish.
Bake covered for 1.5 - 2 hours.
*if using brown rice… cook for closer to 2 hours
This dish freezes very well, so we made 2 when we made it!
Enjoy! I don't know if I'd ever make real cabbage rolls again!